Merge Images
Use this tool to merge two images via different methods. Connect the images to be merged to the tool parameters "Image 1" and "Image 2" and select the desired merging method. The result is instantly shown in the graphic window.
Besides merging two gray scale images and two color images, it is also possible to merge a gray scale image with a color image. This might be useful if you are using a tool of the category "Deep Learning - AI" and want to further work with the heat map on the respective images.
Parameters
Basic Parameters
Image 1:
This parameter represents the first image that should be merged.
If a color image is used as an input image, all channels of the color image are used for the processing.
Image 2:
This parameter represents the second image that should be merged.
If a color image is used as an input image, all channels of the color image are used for the processing.
Method:
This parameter defines the method used to merge the two images. As a default, "average" is selected. You can select a different method from the combo box of the corresponding parameter.
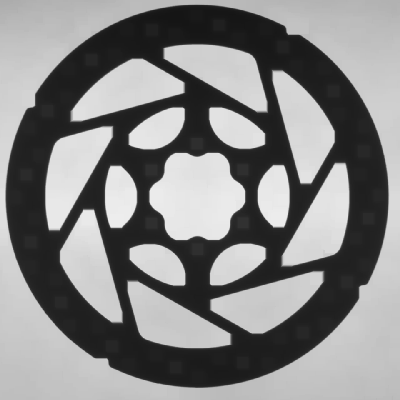
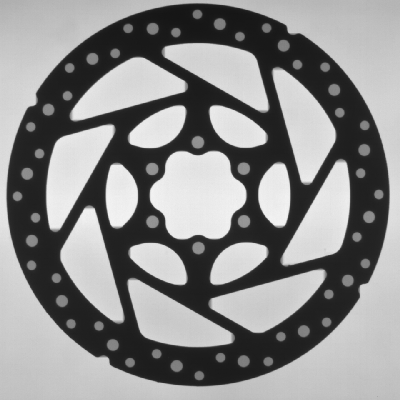
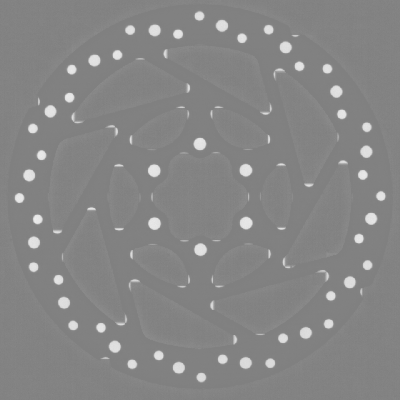
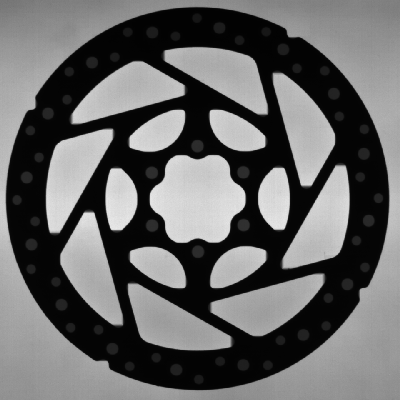
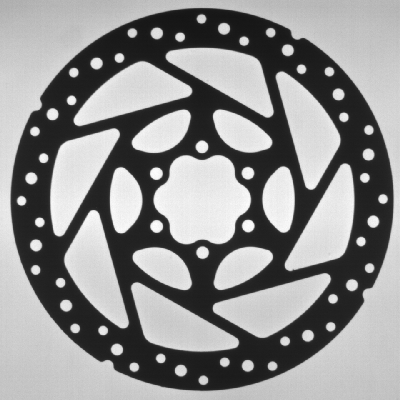
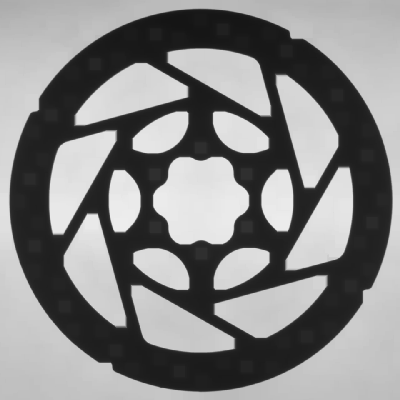
Example: The table below shows the result of merging the following two images with different methods.

|
Value |
Description |
Merged image |
|---|---|---|
|
average |
Use this method to merge the images, resulting in an image with the average gray values of both images. To get the gray value of each pixel, the following formula is used:
|
|
|
subtract |
Use this method to get the brightened difference of the images. To get the gray value of each pixel, the following formula is used: |
|
|
multiply |
Use this method to get the scaled down product of the images. To get the gray value of each pixel, the following formula is used:
|
|
|
maximum |
Use this method to merge the images based on the maximum of gray values . |
|
|
minimum |
Use this method to merge the images based on the minimum of gray values. |
|
|
high dynamic range |
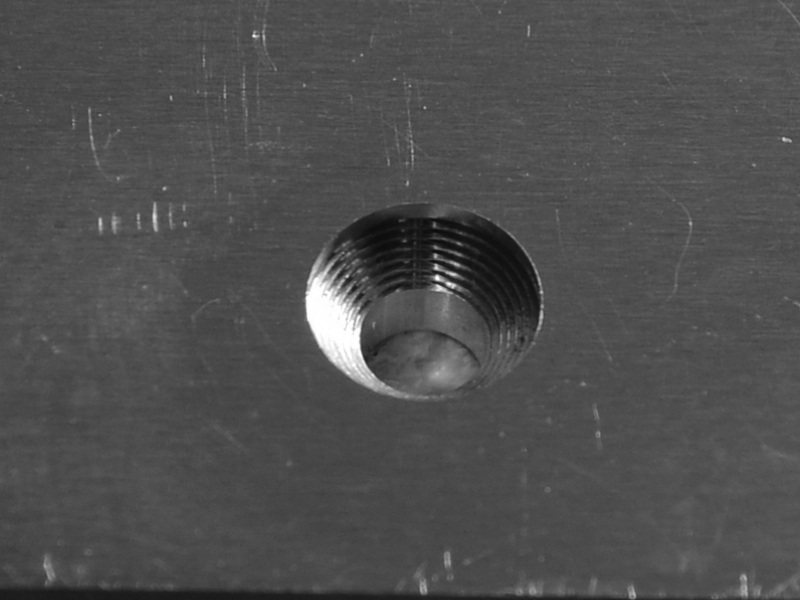
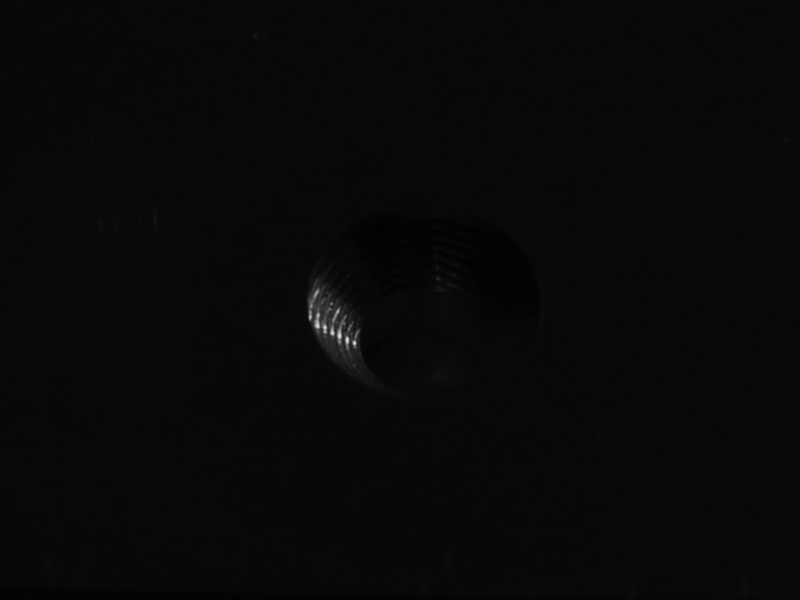
Use this method to combine two byte images that were captured with different exposure times into a high dynamic range (HDR) image. The merged image will be returned as an uint2 image. This method is the same as "exposure fusion" with the difference that the merged image is returned as a byte image when using "exposure fusion". This method takes into account the values of all pixels in the image even if a region of interest (ROI) is used. If you want to apply this method only for a specific part of the image, we recommend to crop the images first before merging. Example: The image on the right shows the resulting HDR image when merging the following two example images using the "high dynamic range" method.
|
|
|
exposure fusion |
Use this method to combine two byte images that were captured with different exposure times into a high dynamic range (HDR) image. The merged image will be returned as a byte image. This method is the same as "high dynamic range" with the difference that the merged image is returned as an uint2 image when using "high dynamic range". This method takes into account the values of all pixels in the image even if a region of interest (ROI) is used. If you want to apply this method only for a specific part of the image, we recommend to crop the images first before merging. Example: The image on the right shows the resulting HDR image when merging the two example images shown in the description of "high dynamic range" using the "exposure fusion" method.
|
|


Additional Parameters
ROI:
This parameter defines the region of interest (ROI) for processing. Image parts outside of the union of the ROI and "Processing Region" are not processed. In addition, if either of them is empty, the image part inside of the other one is processed. In case both of them are empty, the whole image is processed.
By default the ROI is defined as an empty ROI. If you want to use a non-empty ROI for the processing, you either have to connect the parameter to an appropriate ROI result of a previous tool or you have to draw new ROIs into the image using the available ROI buttons.
Alignment Data:
This parameter represents the alignment data that are used to align the ROI. By default no alignment data are connected and thus no effect is visible. If you want to use specific alignment data, you have to connect the parameter to an appropriate result of a previous tool such as Determine Alignment with Matching, Determine Alignment with Straight Border, Align Image, or Rotate Image.
Processing Region:
This parameter defines the region for processing. Image parts outside of the union of the ROI and "Processing Region" are not processed. In addition, if either of them is empty, the image part inside of the other one is processed. In case both of them are empty, the whole image is processed.
By default, "Processing Region" is defined as empty region. To specify a "Processing Region", you have to connect the parameter to an appropriate region result of a previous tool to make sure that a region is transmitted to this tool.
Results
Basic Results
Merged Image:
The result is an image that contains the two merged images. If the size of "Image 1" and "Image 2" differs, "Merged Image" will have the size of "Image 1". "Image 2" will be cropped or internally extended with the gray value 0 for the calculation.
Tool State:
"Tool State" returns information about the state of the tool and thus can be used for error handling. Please see the topic Tool State Result for more information about the different tool state results.
Additional Results
Processed Region:
This result returns the processed region. The processed region is either the region defined in the parameter "Processing Region", the ROI defined in the parameter "ROI", or a union of the two parameters.
Processing Time:
This result returns the duration of the most recent execution of the tool in milliseconds. The result is provided as additional result. Therefore, it is hidden by default but it can be displayed via the ![]() button beside the tool results. For more information see the section Processing Time in the tool reference overview.
button beside the tool results. For more information see the section Processing Time in the tool reference overview.

