Adding New Configurations and Image Sources
A configuration in the Image Source Manager represents a set of image sources. Each image source must be assigned to a specific configuration. It is not possible to add an image source without a configuration. Therefore, you first have to add a configuration for a new image source or you have to add the image source to an existing configuration.
There are different types of configurations: shared configurations and MVApp-specific configurations. The state of a configuration determines if the respective image sources can be adjusted and used in an MVApp. For more information about the configuration types and states, see the topic Basic Terms and Concepts.
Adding a New Configuration
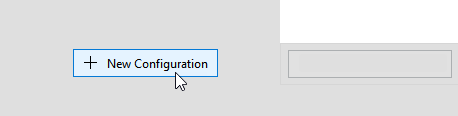
- Click on the button "New configuration" on the bottom left of the "Image Sources" tab.
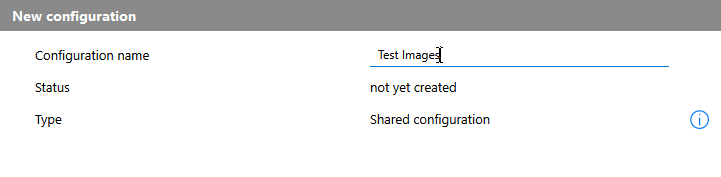
- Enter the name for the configuration as shown in the image.
- Click on the button "Create configuration" on the bottom right of the tab. The new configuration will now be added to the list of configurations on the left and the right area shows the overview of the configuration as shown in the following image. If new image sources will be added to the configuration, they will also be shown in the overview on the right.
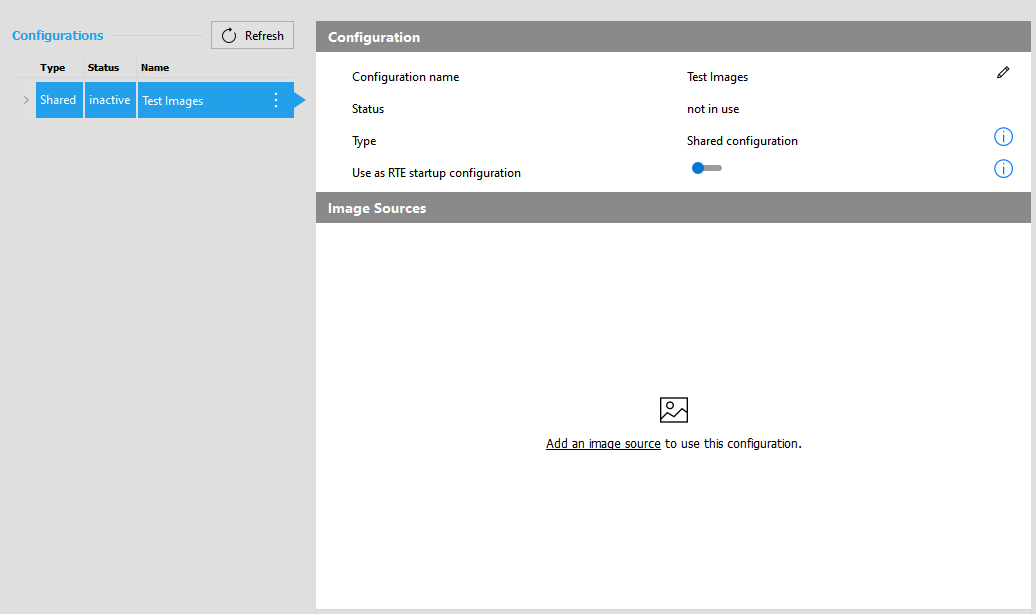
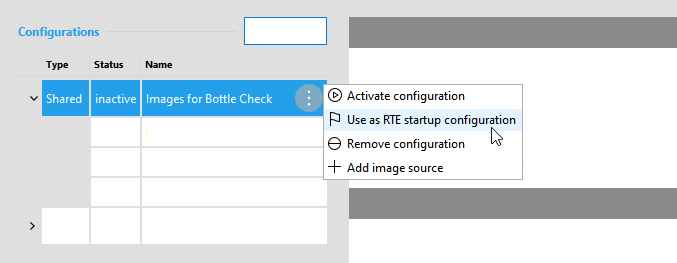
The "Status" indicates the current status of the configuration. In the example image above, it is "inactive" which indicates that the configuration is not activated.
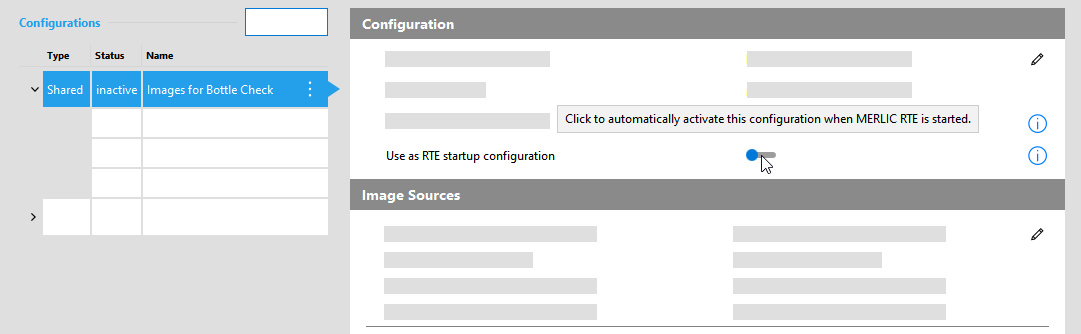
- Specify if the new configuration shall be used as RTE startup configuration. If you want a configuration to be loaded and activated on the startup of MERLIC RTE, i.e., the process integration mode, activate the toggle for "Use as RTE startup configuration". The RTE startup configuration will be marked with a flag icon
 . You can also change the setting afterwards either in the overview of the configuration or via the respective menu that can be opened with the
  icon.
icon.
The "Refresh" button enables you to update the list to the current state of each configuration and image source.
Changing the Configuration Type
The type of the configuration is set to "Shared configuration" by default. To convert a shared configuration to an MVApp-specific configuration, you have to adjust the configuration manually as follows:
- Copy the folder of the configuration. They are stored in the directory "%APPDATA%\MVTec\Configurations" by default.
- Paste the folder into the directory in which the MVApp is located.
- Rename the configuration folder to the same name as the MVApp.
After changing the configuration type from "Shared configuration" to "MVApp Configuration", you will not be able to rename the configuration.
Number of Configurations
There is no universal recommendation how many configurations should be used. If you can use only one configuration for all image sources or if it is better to use multiple configurations to separate the image sources depends on various factors, e.g., the number of image sources or the type of image sources. It might seem easier to use only one configuration but there are some use cases for which it might prove to be better to use multiple configurations. For example, if you have two camera devices that acquire images of the same object but from different perspectives, you could create a new configuration that will contain only these two camera devices. Also, if you want to provide an "offline" setup with image files instead of the camera devices for such an application, you could create an additional configuration that will contain two image directories.
If you are not sure how many configurations you want to use for your image sources, you should consider the following issues side effect:
- When setting up the image source in an MVApp, only the image sources of the currently active configuration are available for use. Thus, if you want to provide a specific set of image sources for the integration in one and the same MVApp, you have to ensure to assign all these image sources to the one configuration because for the setup of the image acquisition in an MVApp, only the image sources of one configuration are available, i.e., the image sources of the currently active configuration.
- With each execution of the MVApp, an image is acquired of all image sources in the active configuration no matter if the images are processed in the MVApp. Thus, if the active configuration contains a lot of camera devices, all of these cameras will be opened and connected and from all these cameras an image will be acquired. Depending on the cameras and their settings, this might slow down the execution time especially if you are actually using only one of the camera devices in your MVApp. In addition, the cameras are not available for other processes in the mean time.
Adding a New Image Source
- Select the configuration to which you want to add the new image source. If no configuration exists, you first have to add a new configuration.
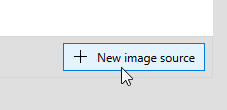
- Click on the button "New image source" on the bottom right of the tab.
Alternatively, you can also add a new image source via the menu of the respective configuration that can be opened via a click on the
icon.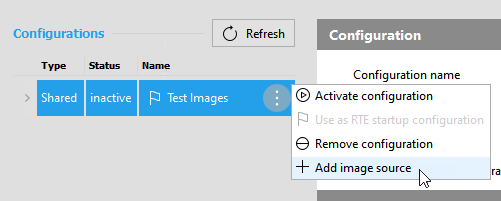
- Enter the name for the image source.
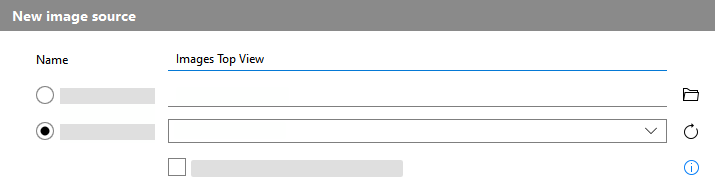
- Select the type of the image source. You can choose between an image directory or a hardware device such as a camera.
- Image Directory: Use this option to add an image source that acquires the images from a directory.
- Device: Use this option to add a camera device or a peripheral device such as a lighting or lens controller as image source.
Selecting an Image Directory
Click on the
 icon to open the file browser and select the directory of the image files to be acquired. If you are connected to a remote system, you have to manually add the path to the image directory into the text field.
The following image formats are supported: .bmp, .gif, .hobj, .ima, .jp2, .jpeg, .jpg, .jxr, .pbm, .pcx, .pgm, .png, .pnm, .ppm, .ras, .tif, .tiff, .xwd.
Selecting a Device
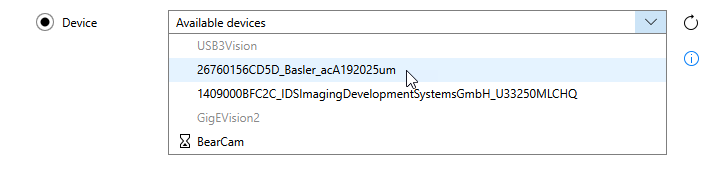
- Open the drop-down menu to see the list of available devices.
- MERLIC supports USB3 Vision and GigE Vision compliant devices as well as hardware supporting the GenICam GenTL standard. This also includes peripheral devices such as lighting or lens controllers.
- The devices are sorted by the interface that is displayed in gray.
- If a device is not ready for use, it is marked with an icon in front of the device name. The icon indicates the current status of the device.
Icon
Description

The device is currently in use, for example, by a different image source in the active configuration or an other user in the same network.

The device is misconfigured. This might be the case if the IP address of a GigE Vision camera is not set correctly or if a driver is missing for an USB3Vision camera. Both cases can be solved easily via the provided link that will be shown in the error message.
- Select the desired device. You can add a device regardless of the current status of the device. However, if it is not ready for use, it will not be possible to acquire live images or to configure the parameters.
In case of a peripheral device, set the option that ensures that no images are acquired from that device. If this option is set, no image acquisition is triggered for that device. Therefore, the device will be ignored when MERLIC checks if the license restrictions regarding the allowed number of cameras are met.

-
Click on the button "
 Create image source" or use the "Enter" key on your keyboard to add the image source. The new image source will be added and automatically selected for configuration.
 - The new image source will be added to the list of image sources of the current configuration which is displayed on the left. The respective icon indicates the type and current status of the image source. For more information on the different status icons and their meaning, see the section Checking the Status of the Image Source in the topic Activating the Configuration.
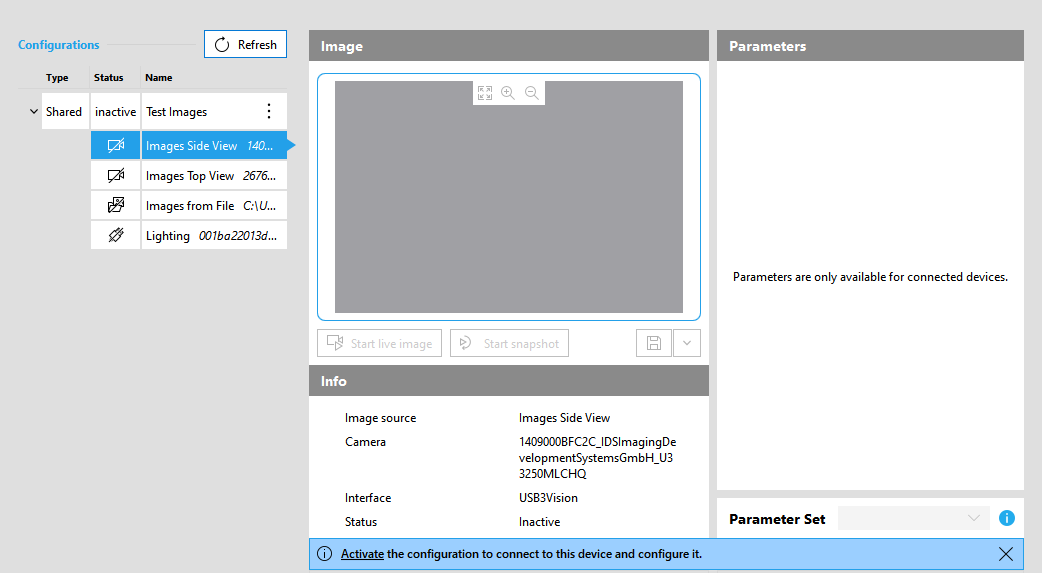
- The image source is automatically selected for configuration. Thus, general information as well as the settings for the configuration of the image source are automatically displayed on the right. However, the settings are only available for configuration if the configuration is active. In the example image below, you can see that the camera parameters are not available yet. To access the parameters, you first have to activate the configuration to which the new image source has been added. For more information on how to configure an image source and which configuration options are provided, see the topic Configuring Image Sources.
Renaming a Configuration or an Image Source
There are two ways to rename a shared configuration or an image source. They work both in the list of configurations on the left and in the overview of the configuration on the right.
-
Click on the
 icon to the right of the name of the shared configuration or the image source. To abort the renaming, press Esc on your keyboard.
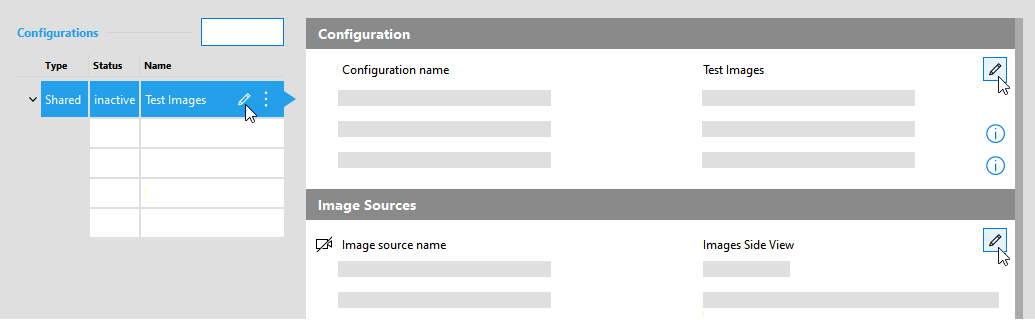
-
Double-click on the name of the configuration or the image source. To abort the renaming, press Esc on your keyboard.
Keep in mind that you cannot rename an MVApp-specific configuration. You can recognize this by the grayed out ![]() icon. However, it is possible to rename image sources of MVApp-specific configurations.
icon. However, it is possible to rename image sources of MVApp-specific configurations.
It is not possible to rename configurations and image sources in the MERLIC RTE Setup if you are connected to a MERLIC Creator or MERLIC RTE that runs on a MERLIC version that is older than MERLIC 5.1. The ![]() icon will be grayed out in that case. Make sure to use a MERLIC Creator or a MERLIC RTE of the latest MERLIC version.
icon will be grayed out in that case. Make sure to use a MERLIC Creator or a MERLIC RTE of the latest MERLIC version.
Defining a Startup Configuration for MERLIC RTE
You can set a shared configuration as startup configuration for the process integration. The RTE startup configuration only applies to MERLIC RTE. On the startup of the MERLIC Creator, the configuration that was used in the last session is activated again. See also the section RTE Startup Configuration in the topic Basic Terms and Concepts for more information.
- Select the desired configuration on the left to display the "Info" section for the configuration.
- Use the slider for "Use as RTE startup configuration" to set the configuration as default.
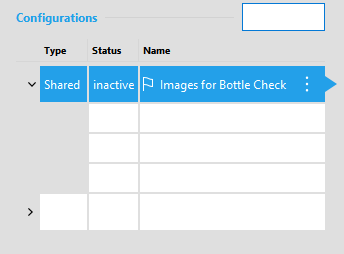
- The RTE startup configuration will be marked with a flag icon .
Alternatively, you can also select an RTE startup configuration via the menu of the respective configuration that can be opened via a click on the ![]() icon.
icon.
Removing a Configuration or Image Source
To remove a configuration, select the configuration on the left and then click on the "Remove configuration" button on the bottom of the "Image Sources" tab. Keep in mind that all image sources of the respective configuration will also be removed.

Alternatively, you can use the menu of the configuration.

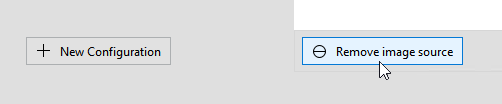
To remove an image source, select the respective image source on the left and then click on the "Remove image source" button on the bottom of the "Image Sources" tab.